
Locations and Wells
Locations represent a monitoring point at a Site where data is collected.
Specifying Locations for your Samples is necessary if you want to:
- View data on Maps,
- View data as Graphs
- Filter for all samples at a Location
Locations can be added and edited in various places in the Application including:
- One at a time in Sites, the Field Portal, Lab Report Details
- A Bulk Import in Import / Update / Export or the DMM.
Locations have the associated details shown below.
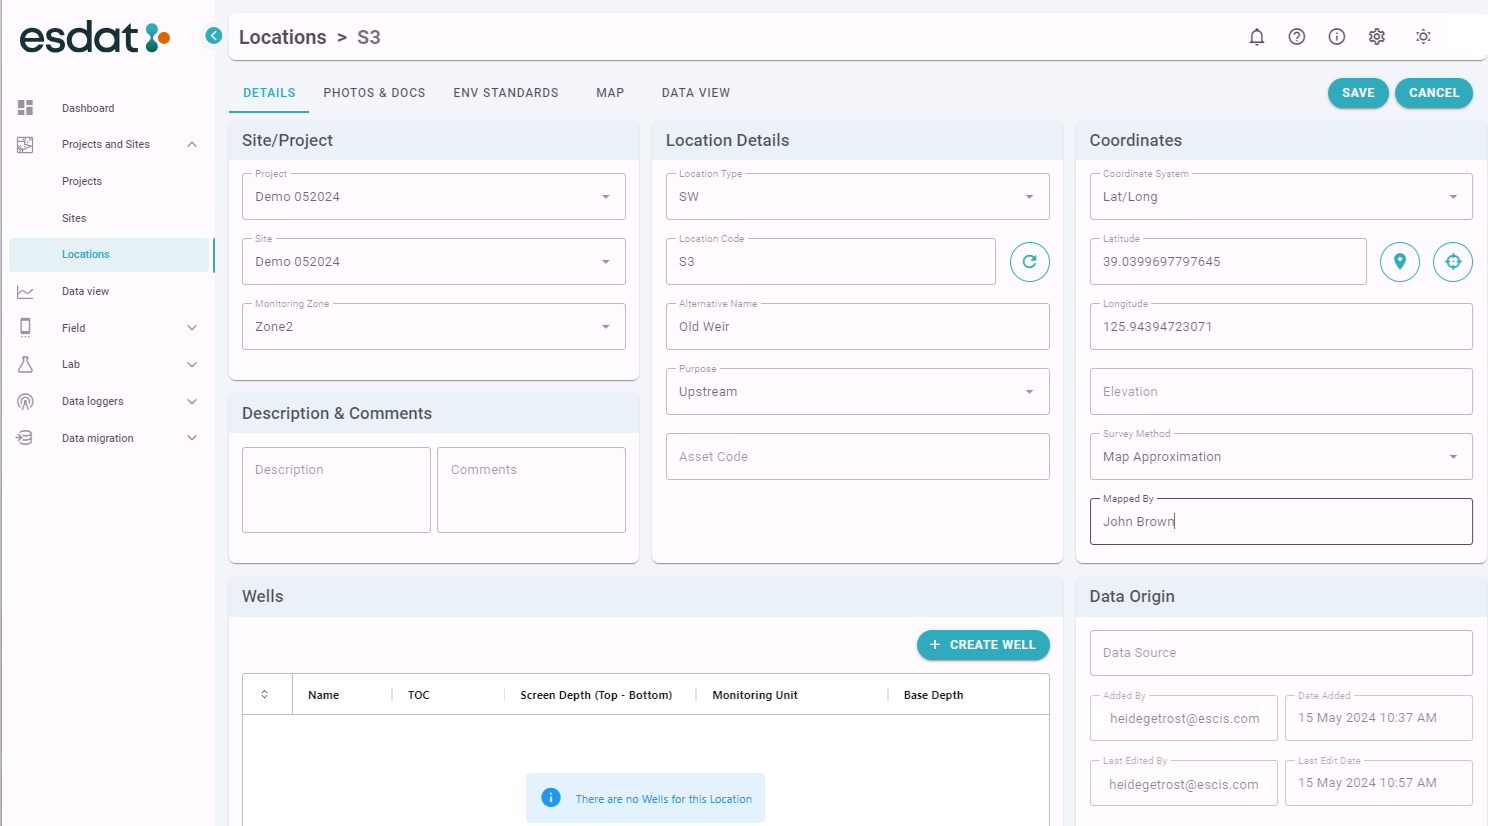
Most of the details are self-explanatory, for others the details are given below.
| Monitoring Zone | A sub-area of the Site, the available values are populated at the Site level |
| Description | Describing the location to help with identification in the field. |
| Location Type | A configurable Drop-Down and can be used to differentiate different types of Location and help with data filtering. Typical example values are SW-Surface Water, BH-Borehole, MW-Monitoring Well. |
| Location Code | A code that uniquely identifies a Location within a site. The next value can be automatically generated using the Site Prefix (if applicable), Monitoring Zone Prefix (if applicable) and Location Type (eg. BH01, BH02 etc..). |
| Alternative Name | Another name used to identify this location, potentially in the past or in common usage. |
| Purpose | A configurable Drop-Down and can be used to identify the reason for monitoring this location (eg Upgradient, Downgradient, Background, Discharge). |
| Asset Code | Can be used to enter an identifier for the location used in an asset management system. |
| Co-ordinate System | Either Lat/Long or the Coordinate System specified for the Site, allowing the location coordinates to be entered or selected from a map. |
| Elevation | Recommended especially if subsurface information is being collected. |
| Survey Method | Identifies method of coordinate information creation |
| Mapped By | Source of coordinate information |
Wells
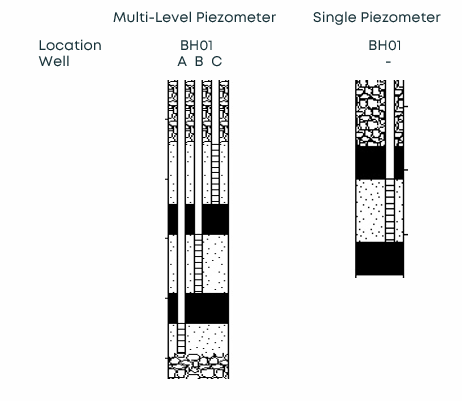
One or more Wells (ie piezometers) can be associated with a location, and details such as TOC, Screen Interval and Base depths entered.
If you have nested wells (ie multiple screened intervals) each well should have a different Well Code, ie A, B, C or Deep, Shallow etc..
Where only a single piezometer is installed at a Location a Well ID isn't usually relevant. The Location Code should not be replicated to identify the well, instead it is recommended a "-" (dash) be used. It is still necessary to specify the Well in addition to the Location in the Chemistry Samples table in order to match the data to the well (as distinct from data at a Location that is not associated with the Well, such as soil samples).
The following information can be entered for each well.
| TOC | Top of Casing – is required for Water level calculations and to convert water depths to elevations. |
| Screen Depth (Top-Bottom) | Screened interval for the well and is measured in mBTOC. |
| Monitoring Unit | The aquifer or groundwater unit being monitored. It is recommended for organisations to develop a standard for Monitoring Unit nomenclature. |
| Base Depth | The total depth of the well in mBTOC. This depth will be used for data display when wells are recorded as “Dry” during a monitoring round. |
| Comments |
Acceptance / Rejection
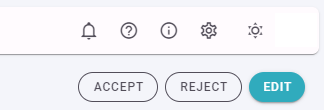
When Locations are first created they are not Accepted. Project and Site Managers will receive a Notification that a new Location has been created, and can review and Accept or Reject it. Accepted Locations can't be edited, unless you are a Project or Site Manager.
A Location is Accepted or Rejected by reviewing the Location Details and clicking the Accept or Reject button while viewing the details. They can also be accepted in bulk in Import / Update / Export or the DMM.
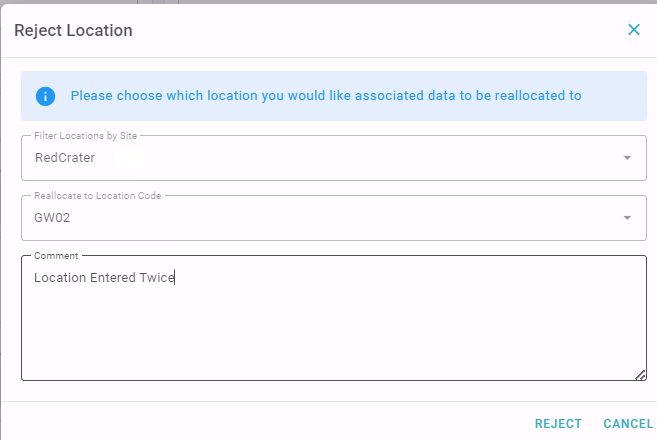
If a new location replicates one already in the system it can be rejected and the data reassigned to the existing location. When a Location is Rejected its associated data must be reallocated to another location.
Managing Location Photos
Users can add photos to a "Location Visit" in the Field Portal.
In order to prevent the number of photos reported with the location from expanding uncontrollably as more Location Visits are conducted only a Site Manager can add photos directly to a Location, or enable photos collected in a Location Visit to be associated directly with a Location.